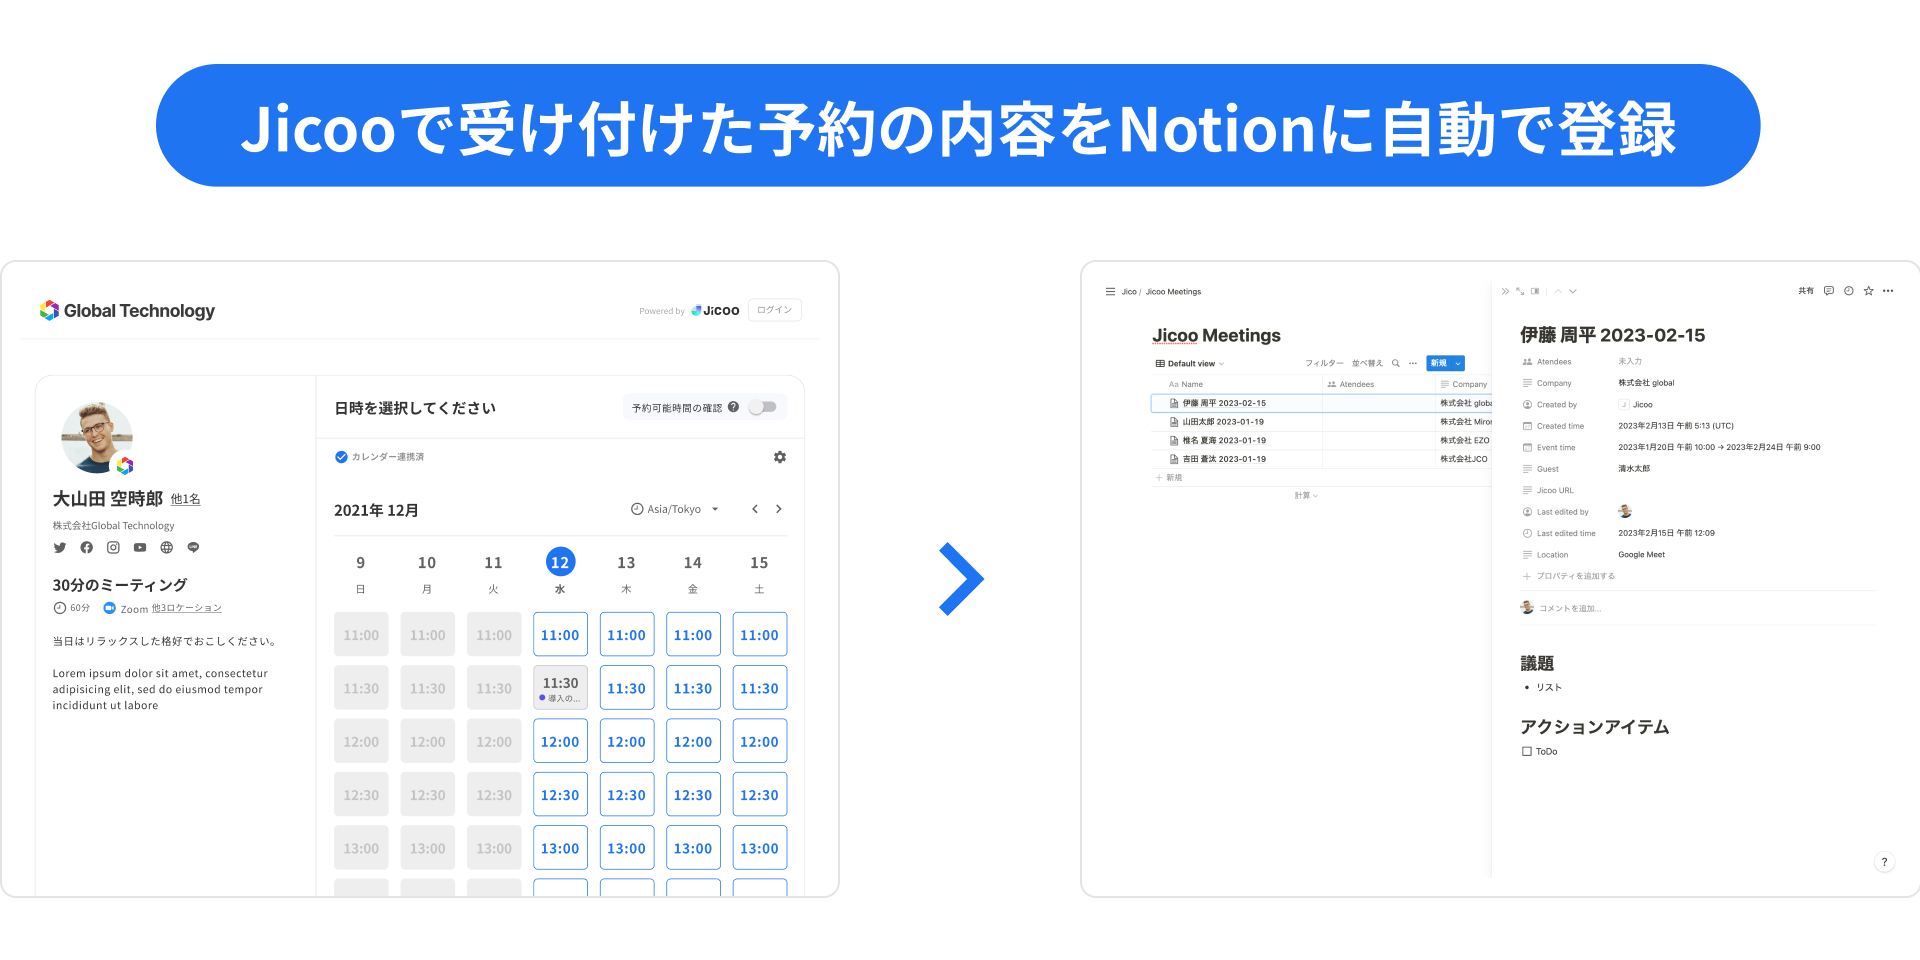
こんにちは、Jicoo エンジニアのhoriです。
今日はJicooのサービス連携機能のひとつである「Notion連携」の実装について紹介したいと思います。
はじめに
JicooのNotion連携機能の紹介をします。
Notion連携機能には、「予約連携」と「フォーム連携」がありますが、今回は「Notion連携」=「予約連携」として進めます。
Notion連携機能は、ゲストが送信した予約日時や予約に関する情報を、指定したNotionデータベース内に新しいNotionページを作成し、そのページ内に転記することができる機能です。
予約が入った際に、予定の作成とNotionページの作成までがシームレスに行われるためカスタマーの生産性向上に寄与します。
また、Notionページと予約ページが自動で紐づけられるので、議事録管理なども手間なく行うことが可能です。
連携の流れ
Notion連携機能での大まかな連携の流れは以下のようになります。
Notion OAuth
連携するNotionデータベースを選択
連携するNotionデータベースのプロパティを選択
予約時に新しいNotionページをcreate
設定をもとにNotionページをupdate
今回は主にNotion APIに関連する処理について解説をします。(1,2,4番)
Notion OAuth
NotionのAPIを利用するためにNotion開発者ページでintegrationを作成します。
今回は、不特定多数のNotionユーザーが利用するため、public integrationとして作成します。
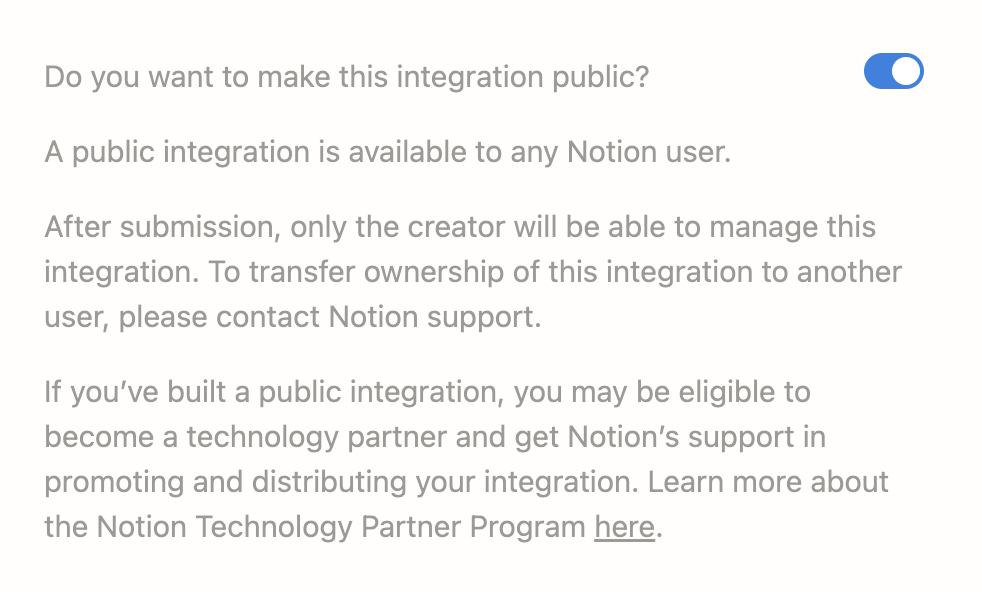
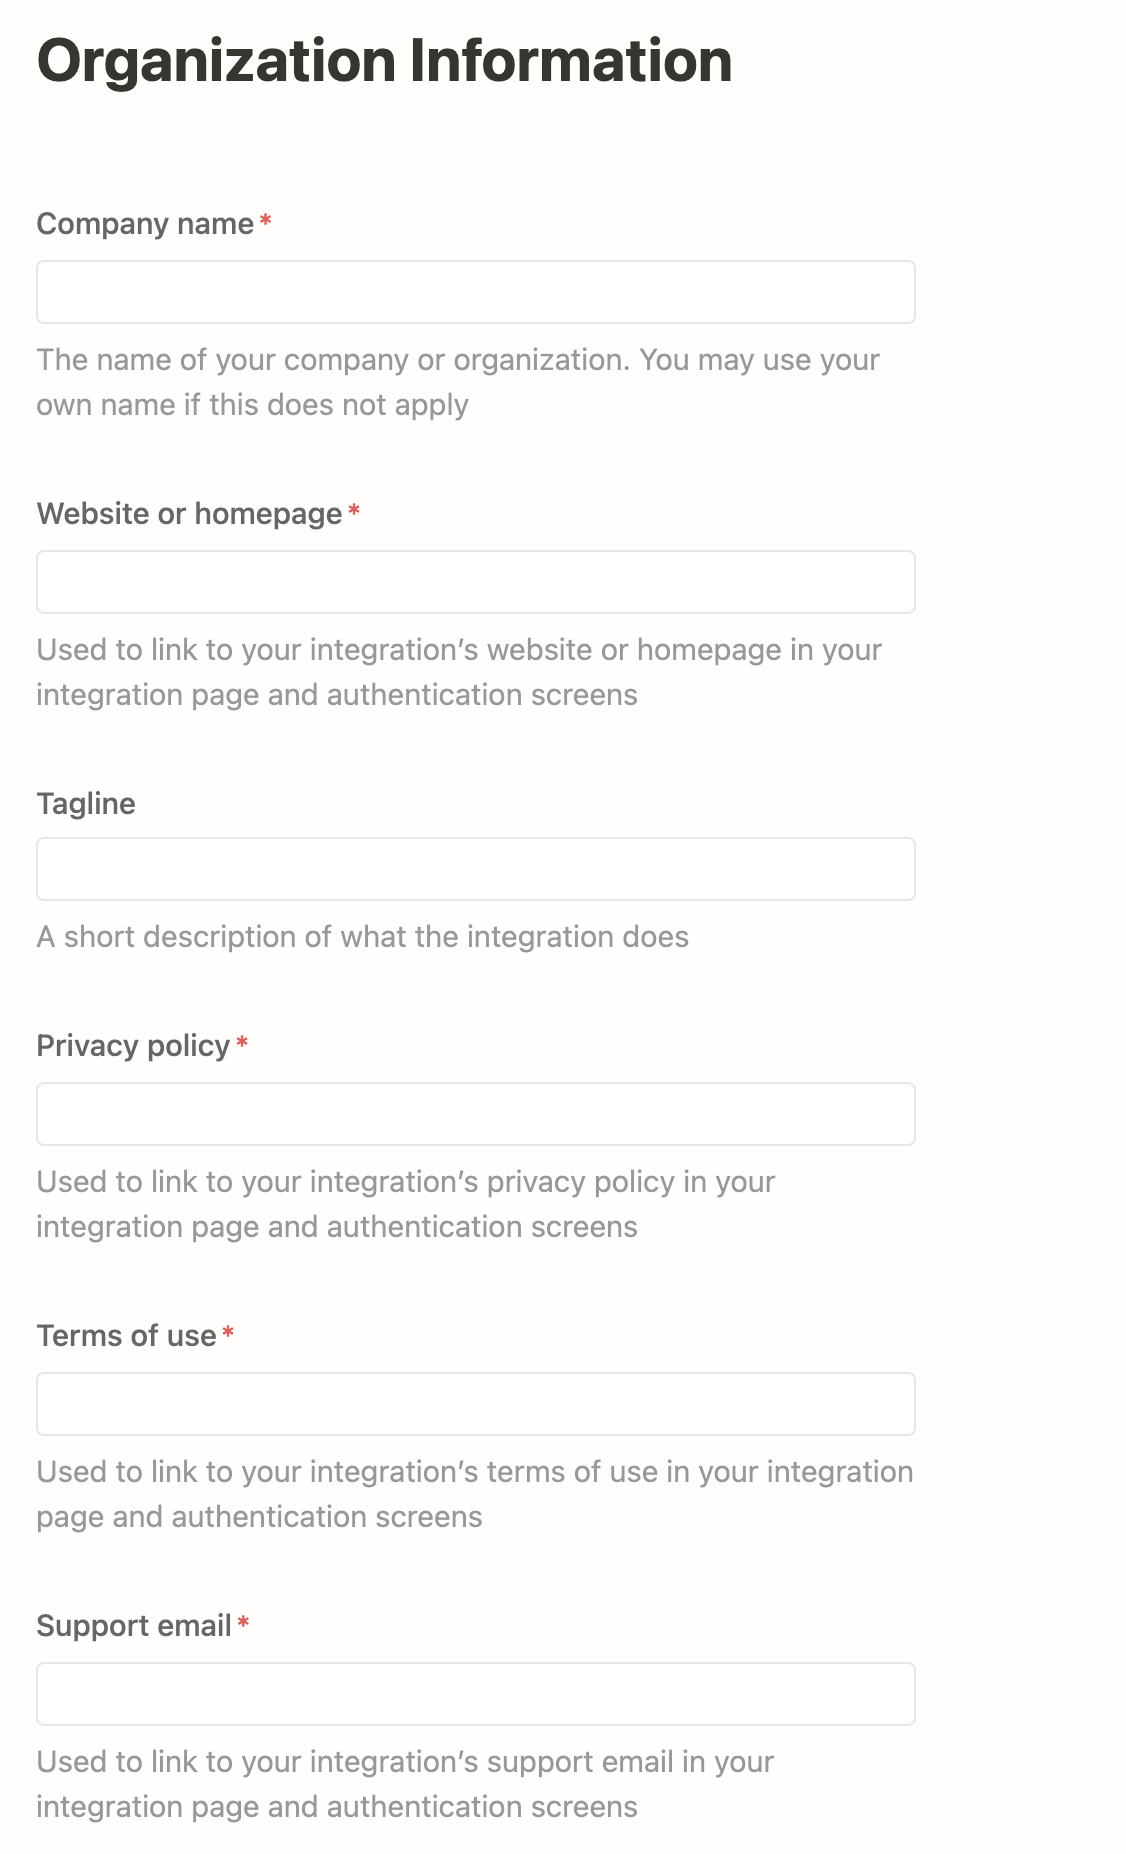
public integrationを利用するためには会社名やWebサイトURL、プライバシーポリシーURL、利用規約URL、サポートのメールアドレスなどの送信が必要になります。
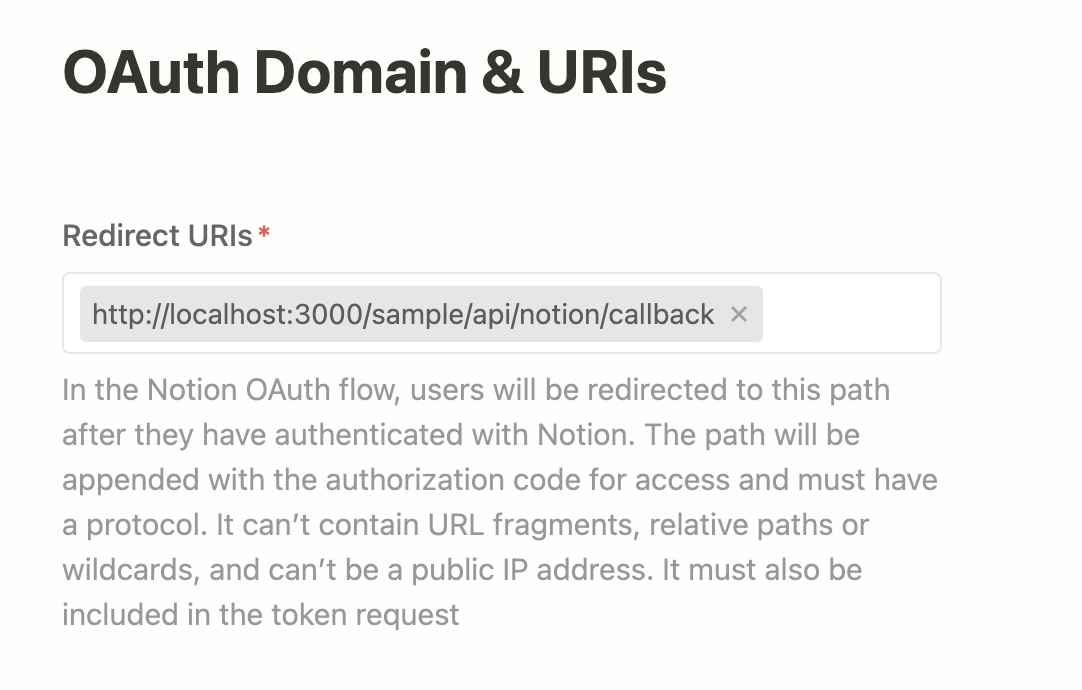
続いて、OAuth Domain & URIsにOAuth認証後のリダイレクト先となるURLを指定します。
public integrationが作成できたら、APIを利用するために必要なSecretsが利用できるようになるので、これらをアプリケーションで利用します。
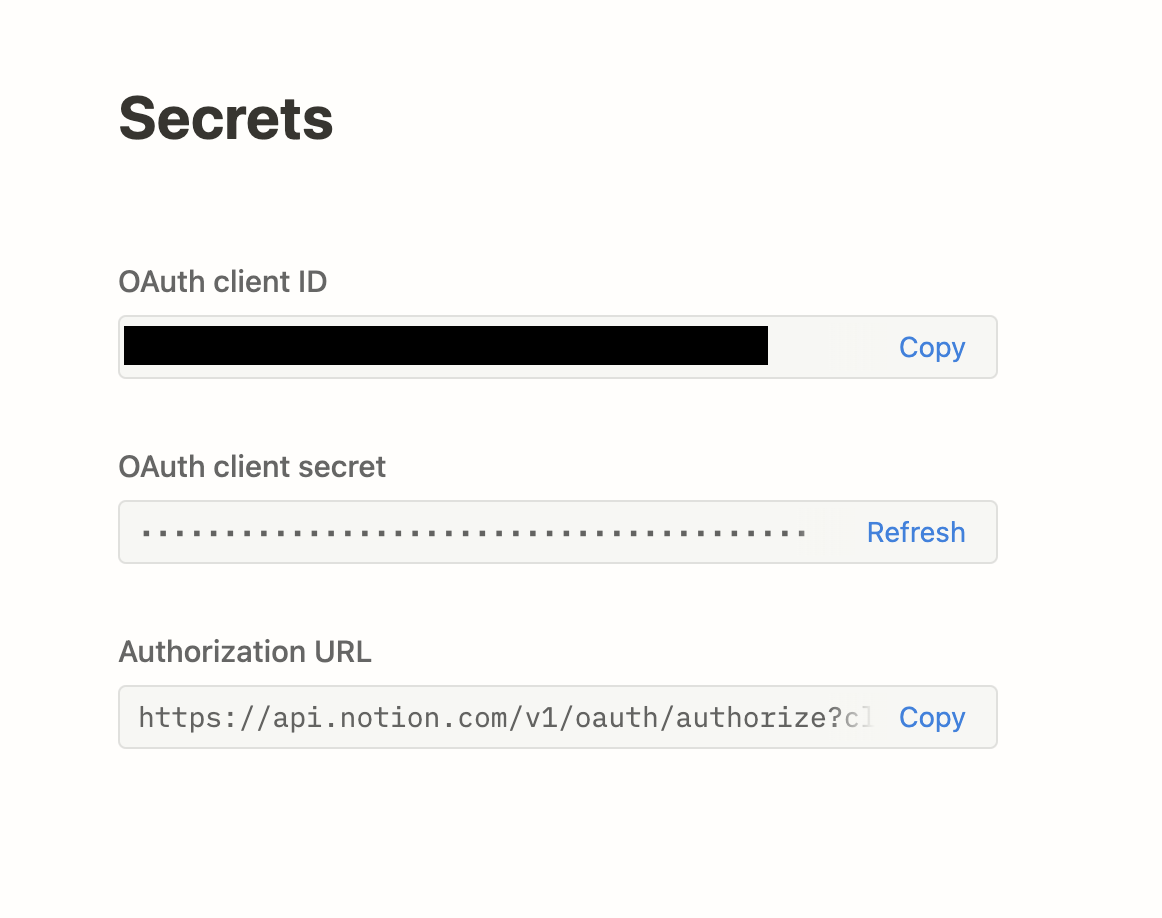
Notionの認証画面に遷移するには以下のようにquery-stringを付与したURLを利用します。
https://api.notion.com/v1/oauth/authorize?client_id={OAuth client ID}&redirect_uri={Redirect URIsに指定したURL}&response_type=code&owner=user&state={CSRF対策token}
URLにアクセスすると以下のように認証画面が表示されます。
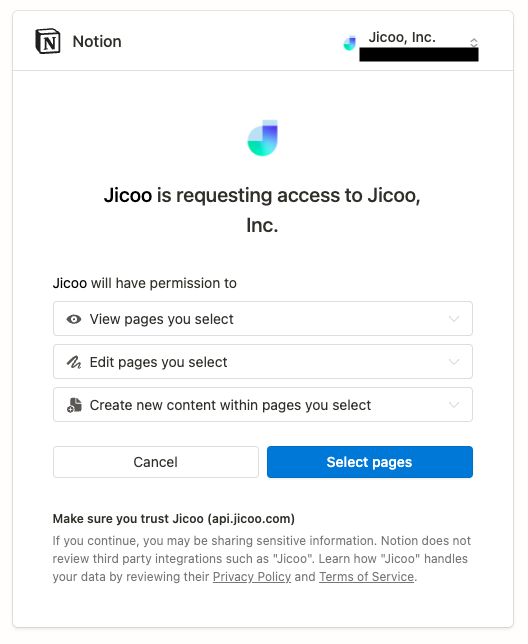
Select pagesを押して次の画面へ遷移するとNotionのどのスペースにアクセス権を付与するかを選択する画面に切り替わります。
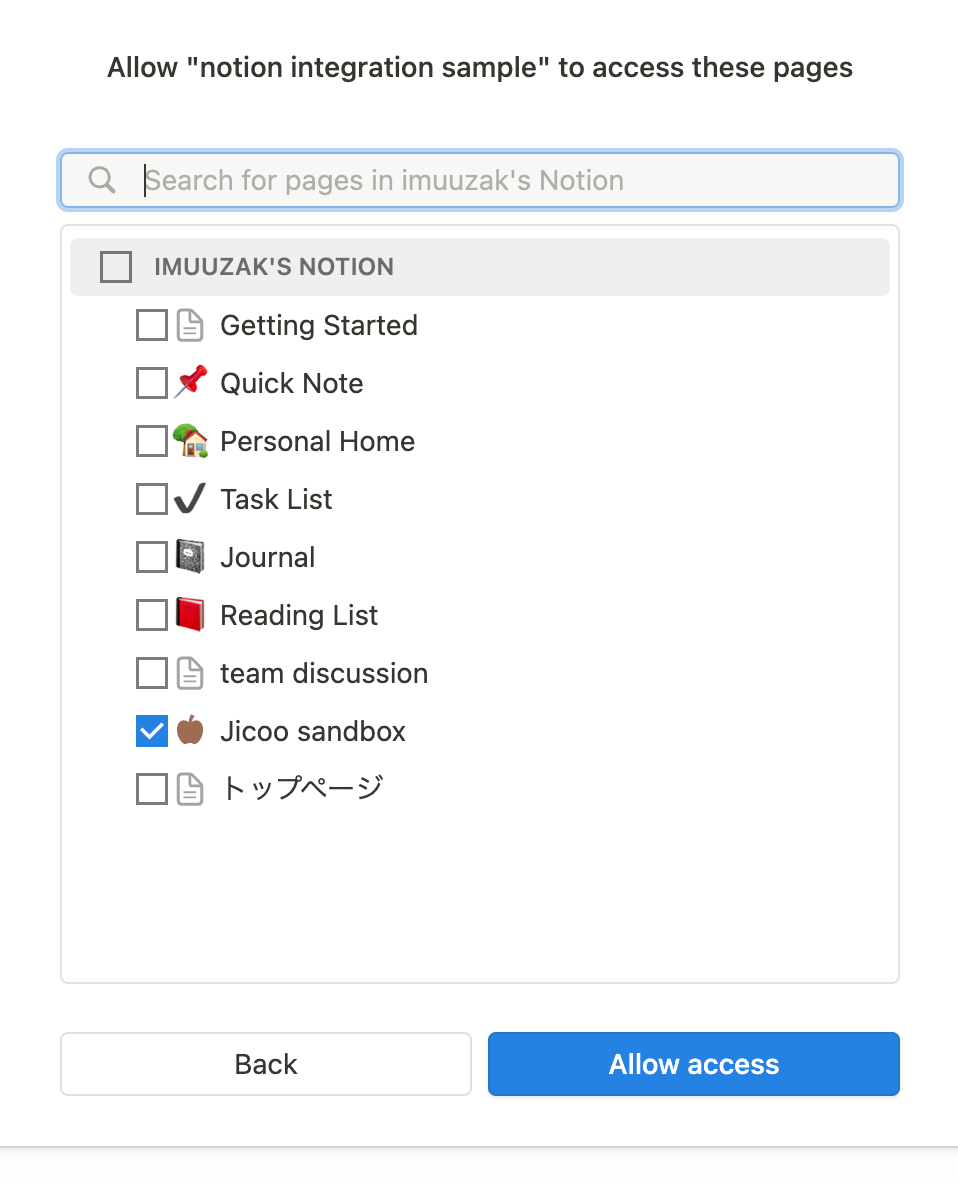
Allow accessを押すと、redirect_uriに指定したURLへリダイレクトされアプリケーションへ処理が戻ります。
リダイレクトされるときにquery-stringに付与された値とclient_secretを利用してaccess_tokenを取得します。
const clientId = 'xxxxxxxxx';
const clientSecret = 'xxxxxxxxx';
const { code } = req.query;

// "clientId:clientSecret"の文字列をbase64エンコードする
const credential = Buffer.from(`${clientId}:${clientSecret}`).toString(
  'base64',
);
// Basic認証のヘッダーを指定
const headers = {
  Authorization: `Basic ${credential}`,
};

const body = {
  grant_type: 'authorization_code',
  code,
  redirect_uri: redirectUri,
};

const result = await axios.post('https://api.notion.com/v1/oauth/token', body, {
  headers,
});

const {
  access_token,
} = result.data;
以降のNotion APIを扱う際にnotionから提供されているclientライブラリを利用しています。 @notionhq/client
Clientをnewする際に、取得したaccessTokenを使用します。
import { Client } from '@notionhq/client';

const notionClient = new Client({
  auth: access_token,
});
以上がNotion OAuthの流れです。
ここまでの流れは、以下の公式ドキュメントでも確認することができます。
https://developers.notion.com/docs/authorization
Notionデータベースを選択
以下の処理で、連携先となるデータベースを検索し、データベースの内容を参照します。
データベースを検索する
const notionClient = new Client({
  auth: access_token,
});

const query = 'タイトル検索文字列';
const params = {
  query,
  sort: {
    direction: 'ascending',
    timestamp: 'last_edited_time',
  },
  filter: {
    property: 'object',
    value: 'database',
  },
  page_size: 100,
};
const searchResult = await notionClient.search(params);
const databases = searchResult.results;
データベースの内容を取得する
const notionClient = new Client({
  auth: access_token,
});

// 保存していたNotionデータベースのID
const id = storedNotionDatabase.id;
const {
  id,
  title,
  url,
  properties,
} = await notionClient.databases.retrieve({
  database_id: id,
});
Notionページをcreate
const notionClient = new Client({
  auth: access_token,
});

// 保存していたNotionデータベースのID
const id = storedNotionDatabase.id;
const pageProps: CreatePageParameters = {
  parent: {
    database_id: id,
  },
  // プロパティの内容
  properties,
  // ページに記載する内容
  children: [
    {
      object: 'block',
      heading_1: {
        rich_text: [
          {
            text: {
              content: '見出し1',
            },
          },
        ],
      },
      {
        object: 'block',
        to_do: {
          rich_text: [
            {
              type: 'text',
              text: {
                content: 'アクション1',
              },
            },
          ],
          checked: false,
          color: 'default',
        },
      },
    },
  ],
};

const {
  id,
  title,
  url,
  properties,
} = await notionClient.databases.create(pageProps);
まとめ
Notion APIを利用することで、必要なシームレスにNotionページの作成が可能となりました。
またNotionページに書き込む内容などはとても自由度が高く、複雑な手動で作成すると手間のかかるページ作成なども自動化することが可能となり、日程調整や予約システムととても相性の良い連携機能を提供することが可能となりました。
一緒に開発してくれるメンバーを募集
Jicooはエンジニアを積極採用中ですので、新しい技術を積極的に投資をしていく環境に興味がある方、サービスを企画からガシガシ作っていきたい方は是非ご応募をお願いします!
エンジニアとして一緒に働いてみたい方はこちらをご確認ください。 https://www.jicoo.com/careers

